Hey everyone...I'm back. I think maybe I have this blogging thing figured out. Hopefully. I even figured out how to get pictures on here...yay! And yes...I did bring cookies!
Look at the cute little bag of cookies for Valentine's Day. We had our card club in the store yesterday and I didn't know what to do for this class and since I'm not really a card making person...I'm a theme book person...I came up with this little cutie. The ladies really loved it...to my surprise lol So I thought I would share it with all of you.
Below are pretty much step by step directions.
The bag is big enough to hold 6-7 cookies. And the bags and matching stickers are by Wilton. I'm also a baker and had these for real cookies but I think they turned out really cute. You can make them for any event..birthday's, mother and father's day...put little "coupons" for back rubs or a car wash..anything. How cute would these be for baby showers with sweet little baby colors and poems. <3 Or throw a bunch in a bowl for a party.
Just cute. :) Have fun, smile and make someone else smile too. ~Dawn
I traced a glass for my 3 1/4" circle. I found this to be the best size. I made a smaller one and it was just too small to manage with thick paper...but it can be done. 1 sheet of 12x12 will make 9 circles.
3 1/4" circle
Ha! I can cut a circle!
I like to hide the white and add a little color by inking the edges. Both sides.
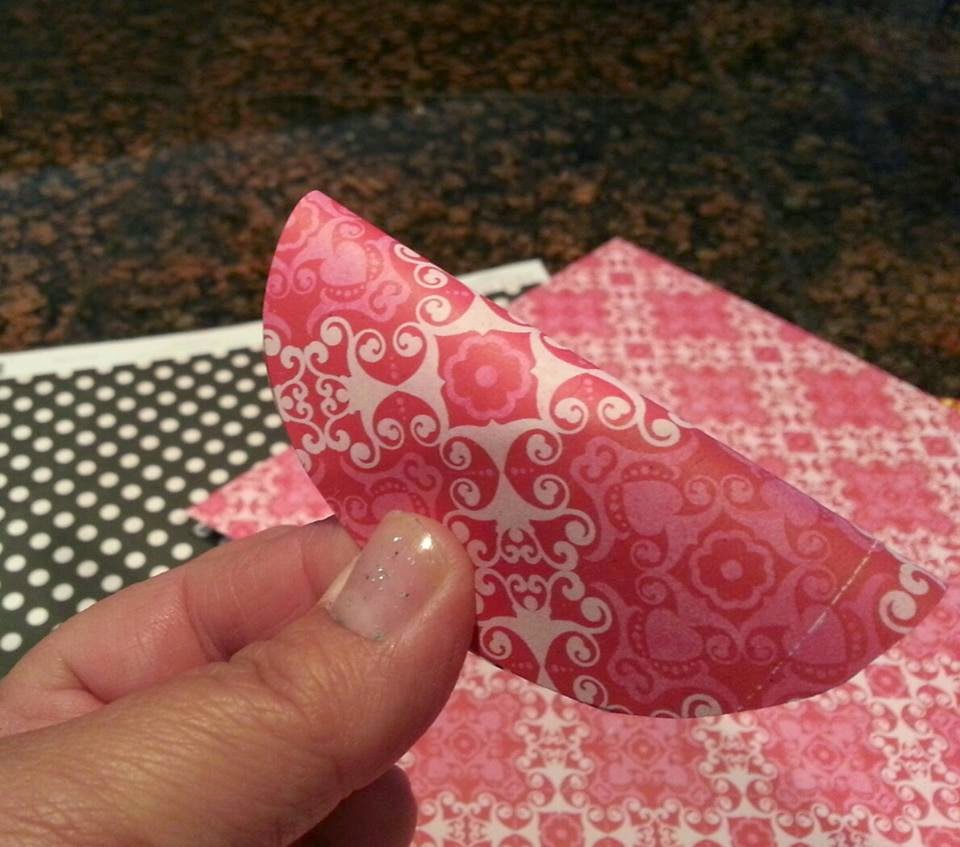
Do Not crease but fold the circle in half and ONLY pinch crease the center where your thumb is. Don't crease the whole thing...only the center.
See the little crease...:)
Now turn it the other way and fold it in half but don't crease it.
Go to the center where you have the little crease going the other direction and fold it there. That little crease helps you fold it. :)
Voile! You have a little fortune cookie. Now before you tape the center make sure it is tight so it will hold your little "fortune"
I typed up a bunch of phrases from loves poems on colored paper and cut them in strips to fit inside.
Next.... I took a small key tag and a small shipping tag..inked them and placed the sticker on the shipping tag.
Took some pretty matching ribbon...punched some holes in the bag and laced it through. You can write a name on the tag for giving. :)
That's it! Easy Peasy....and this is sure to make someone smile. :) <3


Thanks Dawn! These were so fun to make in class!
ReplyDeleteI'm so glad you guys liked them...lol Everyone coming in the store is liking them too. Who would have thought! :)
ReplyDelete